
 S6000U
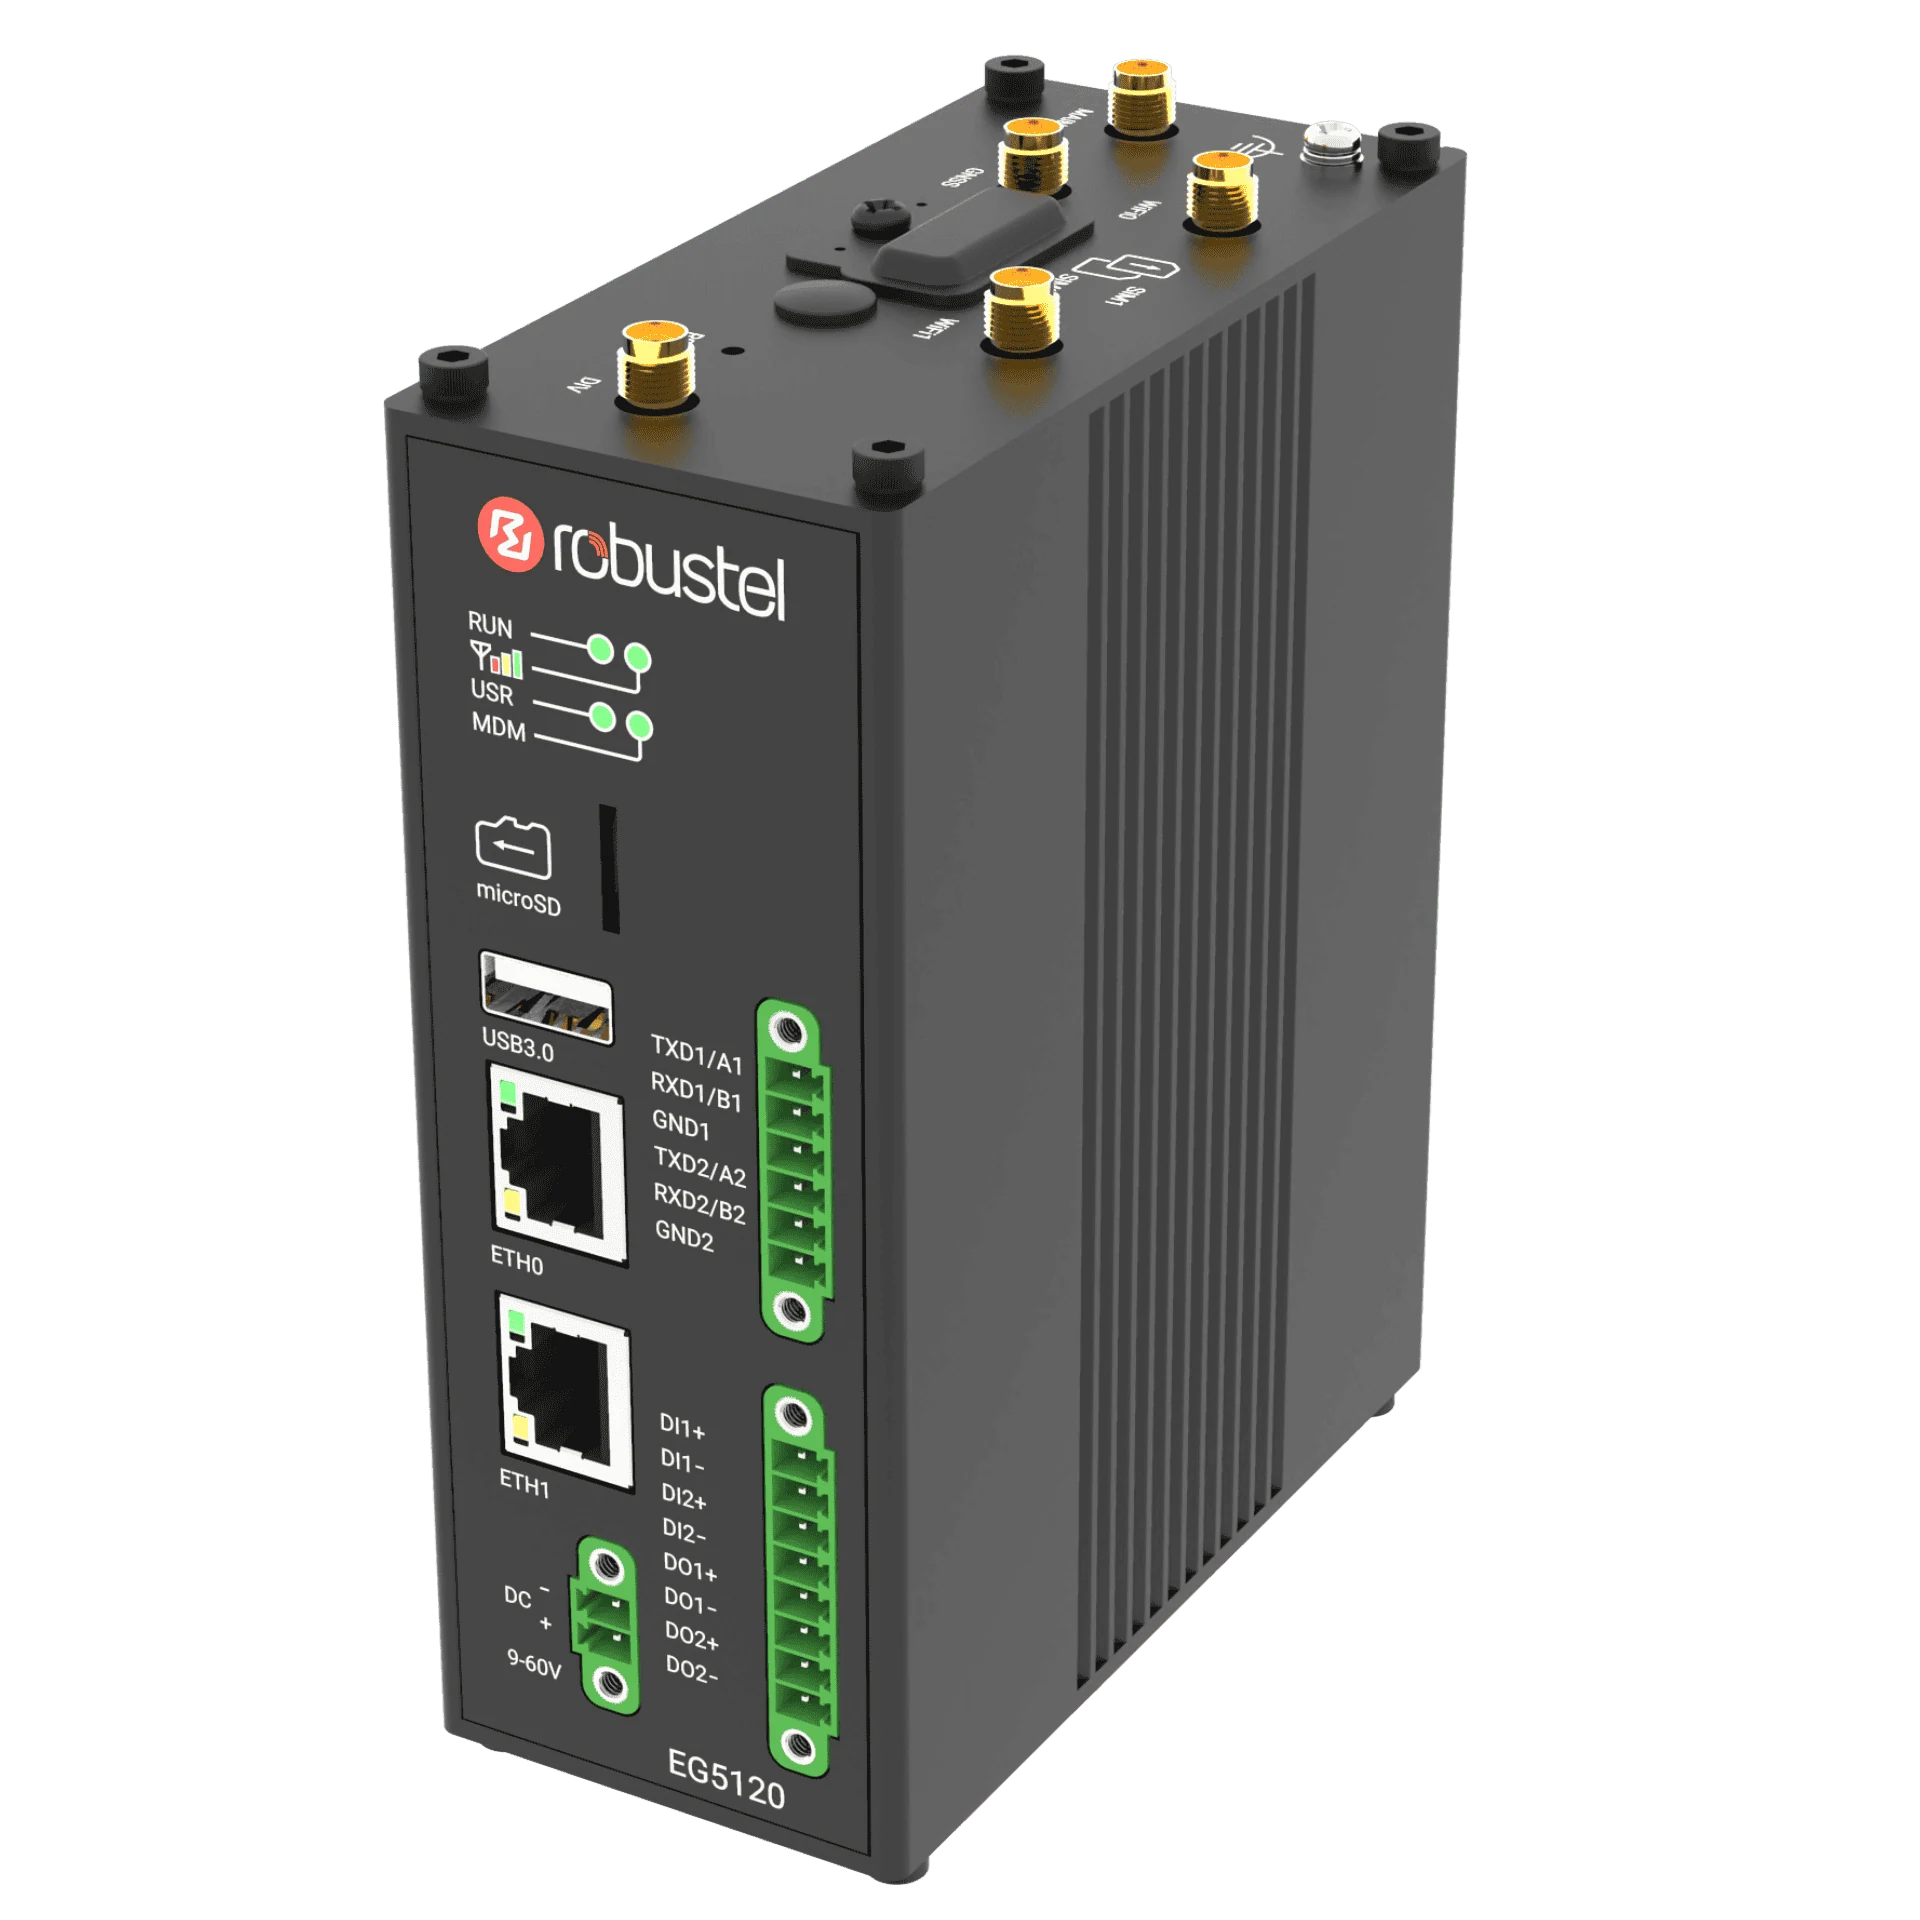 EG5120
Prepare the bench and the documents
- EG5120 and S6000U, matched power supplies, an RS-485 cable and terminal assembly checked against both hardware manuals.
- A computer connected to the gateway LAN, the actual gateway address and authorised sign-in access.
- The sensor revision and its protocol/register document; the EG5120 firmware and E2C Factory version; the applicable software entitlement.
Use the development worksheets to record settings and evidence. Leave unknown addresses blank until the matching sensor document is available.
Choose the correct reference path
This workflow: S6000U → RS-485 / Modbus RTU → E2C Factory. The software manual documents Modbus RTU collection; the exact sensor point still comes from the S6000U protocol document.
E2C Factory quick start: the worked collection example uses a Modbus TCP source. Use it to understand installation and validation, not as the S6000U register or serial configuration.
Alternative S6000U example: the linked Node-RED/Blynk article uses serial-to-TCP mapping and a separate application. Its port and parsing instructions belong to that alternative path. Do not apply both collection setups to the same serial port.
Record the starting configuration
Record model, serial number, firmware, software version and sensor revision. Compare the installed E2C Factory release with its compatibility and licence information. Confirm access to the collection functions you intend to use and check the gateway clock before relying on timestamps. If software is not installed, complete the installation reference first.
Check the connection before applying power
Use the device manuals to identify sensor A, B, GND and VIN and the selected gateway serial terminals. Record the terminal-to-terminal wiring and power-supply ratings. Have the assembly checked before energising it; do not infer a pin assignment from wire colour.
Configure the selected interface for RS-485 as required by the gateway manual. Confirm that a serial bridge or another polling application is not already using that port.
Complete one point-map row
Choose one documented read-only measurement. Record the slave address; baud rate, parity and stop bits; read function; register address and whether it is an offset or reference address; data type, byte order, scale and unit. Also record the source document and page or section.
If any mapping field is unknown, stop at this completed preparation list and request the correct protocol document. A plausible number is not sufficient evidence of a correct register.
Configure one device and one tag
In the installed E2C Factory release, use Data Collection to add a Modbus RTU device with the selected serial interface and the documented settings. Add one read-only tag from the completed point map. Use a clear name that describes the measurement and location, and an agreed polling interval.
Save and publish the collection configuration using the matching manual. Inspect the runtime result before adding more points or downstream functions.
Verify the result and retain evidence
- The intended device responds and the chosen tag has a valid result.
- The displayed unit and converted value agree with the point map and an independent reference or known condition.
- New samples arrive at the expected cadence; record collection time separately if the tag view does not expose a sample timestamp.
- A controlled bench interruption is distinguishable from a fresh reading. Do not treat a retained numeric value as live data.
Save a screenshot or short observation log, the mapping row and the supported configuration export. Record how to restore it. Your first-data task is complete when another engineer can identify the setup and understand why the value is trusted.
Choose the next task
Use the verified value for a local trend and alarm experiment or an MQTT handoff. Gateway management is a separate exercise: introduce RCMS.