

Getting Started with Balena on the Robustel EG5120 IoT Gateway
|
|
Time to read 6 min
|
|
Time to read 6 min
In this guide, we will help you get started with balenaCloud by:
Setting up your Robustel EG5120 i.MX8MP device and bringing it online on the balenaCloud dashboard.
Deploying a Python hello-world project on the device.
Developing the sample project: making changes and testing them on the device in real-time.
Once you've completed this getting started guide to balena, you'll be equipped with the fundamentals needed to continue developing your application using balenaCloud and be on the path to deploying fleets of devices to production. If you are looking for definitions of certain terms, refer to the glossary .
A fleet is a group of devices that share the same architecture and run the same code. Devices are added to fleets and can be moved between fleets at any time.
To create your first fleet, log into your balenaCloud dashboard and click the Create fleet button.

Enter a fleet name, select the Robustel EG5120 i.MX8MP device type, choose the Starter fleet type , and click Create new fleet :

You'll then be redirected to the summary of the newly created fleet, where you can add your first Robustel EG5120 i.MX8MP.

balenaCloud builds a custom balenaOS image configured for Robustel EG5120 i.MX8MP which allows the device to provision and join the new fleet you created automatically. Start by clicking Add device on the fleet summary. Your device type will be preselected here since you already chose it when creating the fleet. Other device types of the same architecture can also be picked to join the fleet.

Select an OS type of balenaOS, and you will see a list of available balenaOS versions with the latest preselected. Choose a Development version of the OS. The production OS does not facilitate the development workflow we'll be using. Find out more about the differences between Development and Production images .

Select the type of network connection you'll be using: Ethernet Only or Wifi + Ethernet. A network connection is required to allow the device to connect to balenaCloud. Selecting Wifi + Ethernet allows you to enter a Wifi SSID and Wifi Passphrase which is then built into the image.
 Finally, click the Download balenaOS button. When the download completes, you should have a zipped image file with a name like
 balena-First-Fleet-eg5120-imx8mp-2.80.3+rev1-v12.7.0.img.zip.
Next, we will flash the downloaded image onto the device. To do so, follow the following steps:
When complete, after a minute or two the device should appear on your balenaCloud dashboard , and you should now be ready to deploy some code. If you are not able get the device to appear on the dashboard, then check out our troubleshooting guide for Robustel EG5120 i.MX8MP or try our support channels .
operational device in your fleet, it's time to deploy some code. We will use the balena CLI for this. Follow the instructions below to install balenaCLI for the operating system available on your system. Skip the next part if you have balena CLI already installed.
balena login command on the terminal:
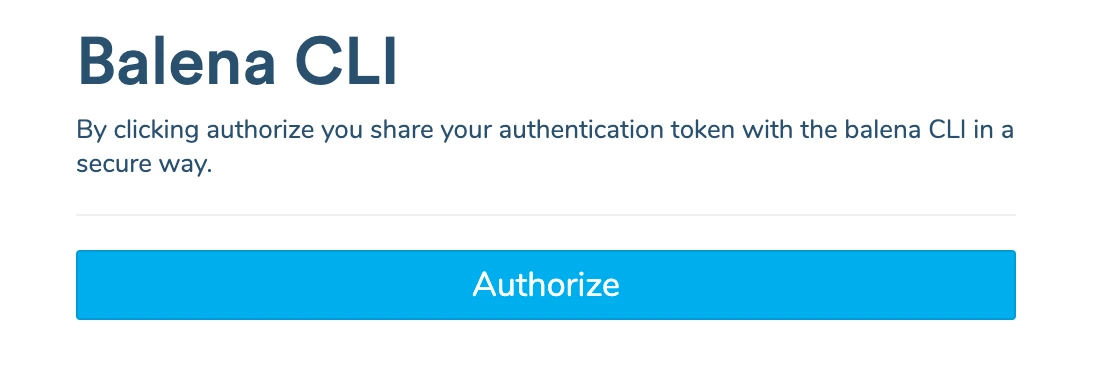
You will be asked to choose an authentication method, choose Web authorization which will bring up a web browser window that allows you to login to your balenaCloud account. Click the Authorize button, and head back to the terminal after the login successful message appears.

balena fleet list command, which should return information about the fleet you created in the previous step. Take a note of the fleet NAME as you'll need this in the next step to push the code to your device(s) in that fleet.
A nice project to try is the balena-python-hello-world project. It's a Python web server that serves a static page on port 80. To get started, download the project as a zipped file from GitHub, unzip it and open a terminal in the root of the extracted project directory.
To create a release, use the balena push First-Fleet command replacing First-Fleet with the name of your fleet. Ensure you are working from the root of the extracted project directory.
This command pushes the code to the balena builders, where it will be compiled, built, turned into a release, and applied to every device in the fleet.
You'll know your code has been successfully compiled and built when our friendly unicorn mascot appears in your terminal:
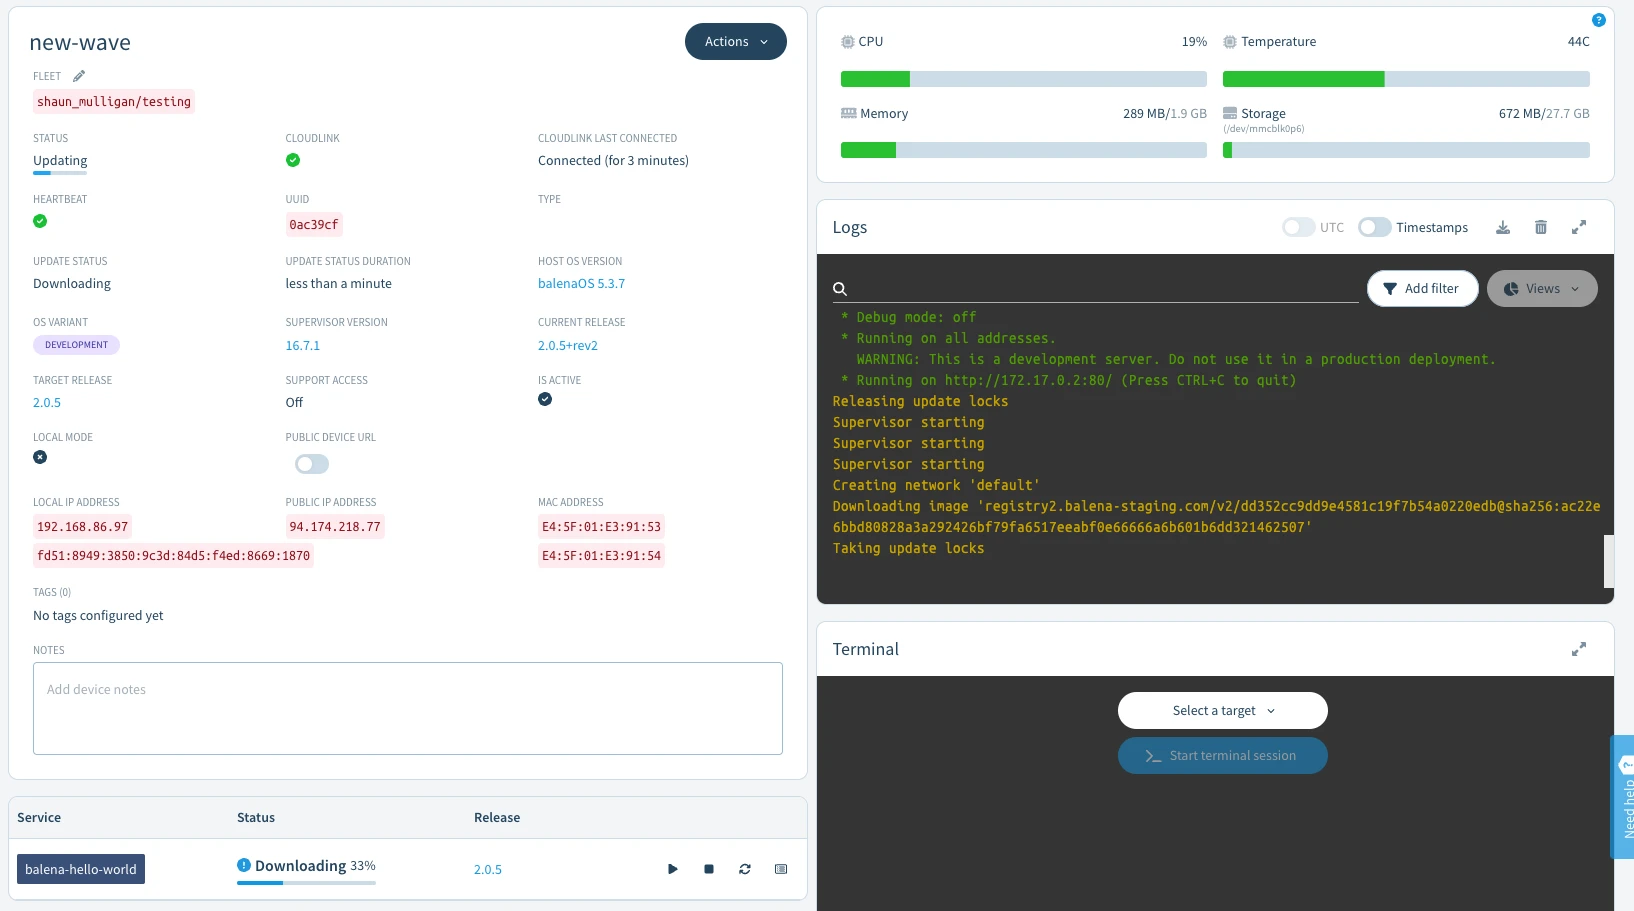
The release will then be downloaded and started by all the devices in the fleet. You can see the progress of the device code updates on the device dashboard:

After the download, you should now have a Python web server running on your device and see some logs on your dashboard.
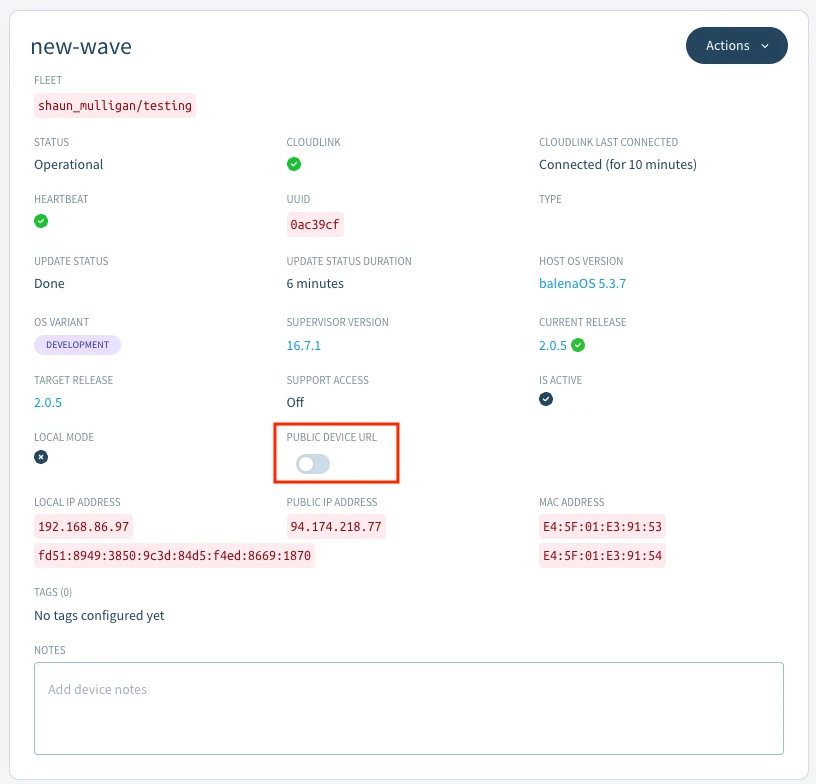
To give your device a public URL, click the Public Device URL toggle on the device dashboard. Public device URL allow you to serve content from the device to the world easily without configuration as long as the server is running on port 80.

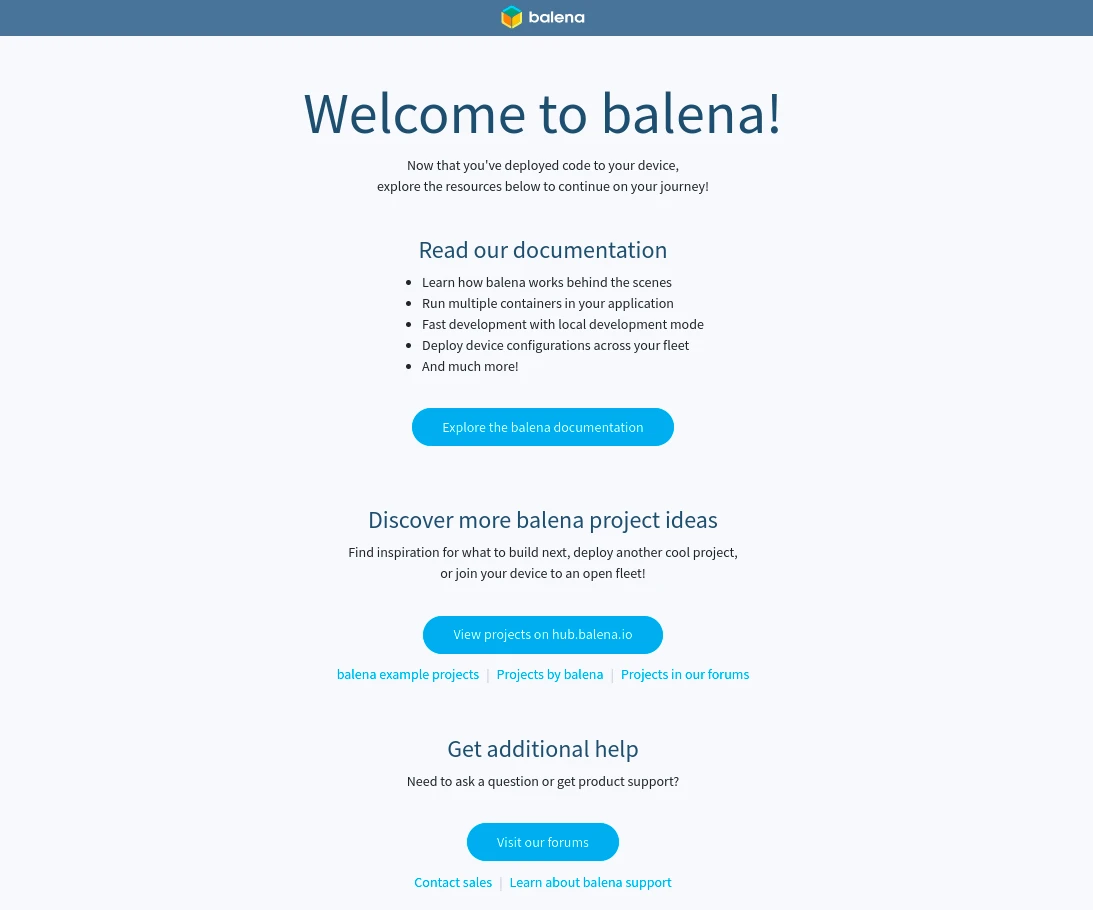
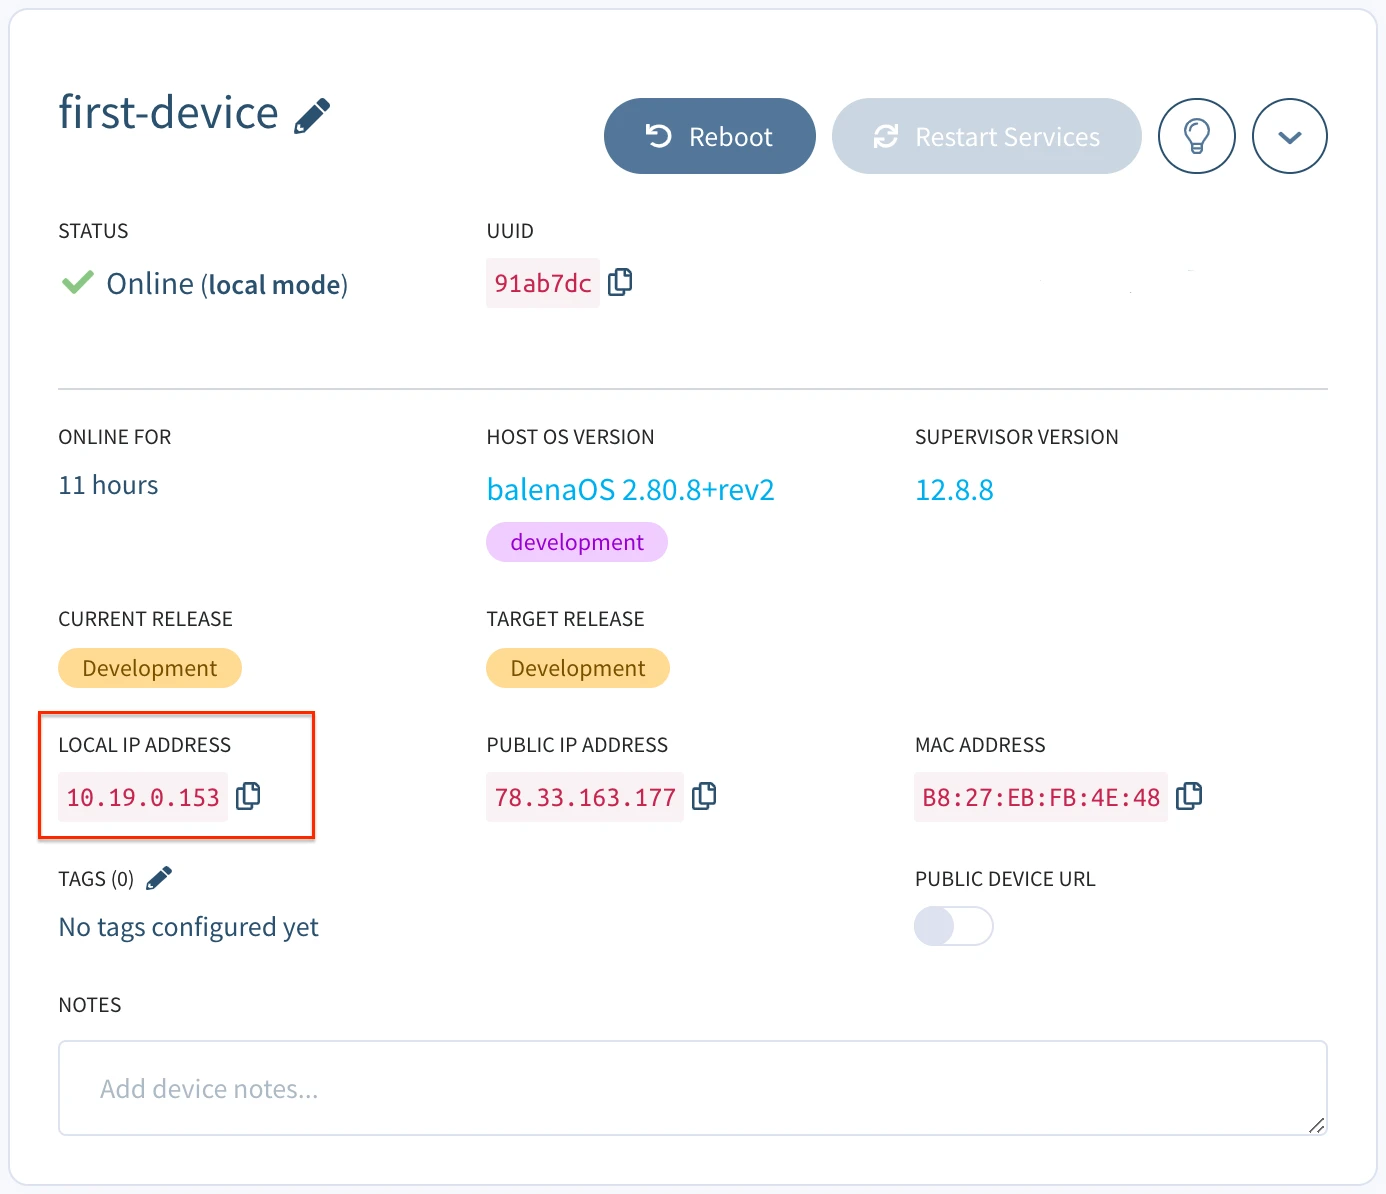
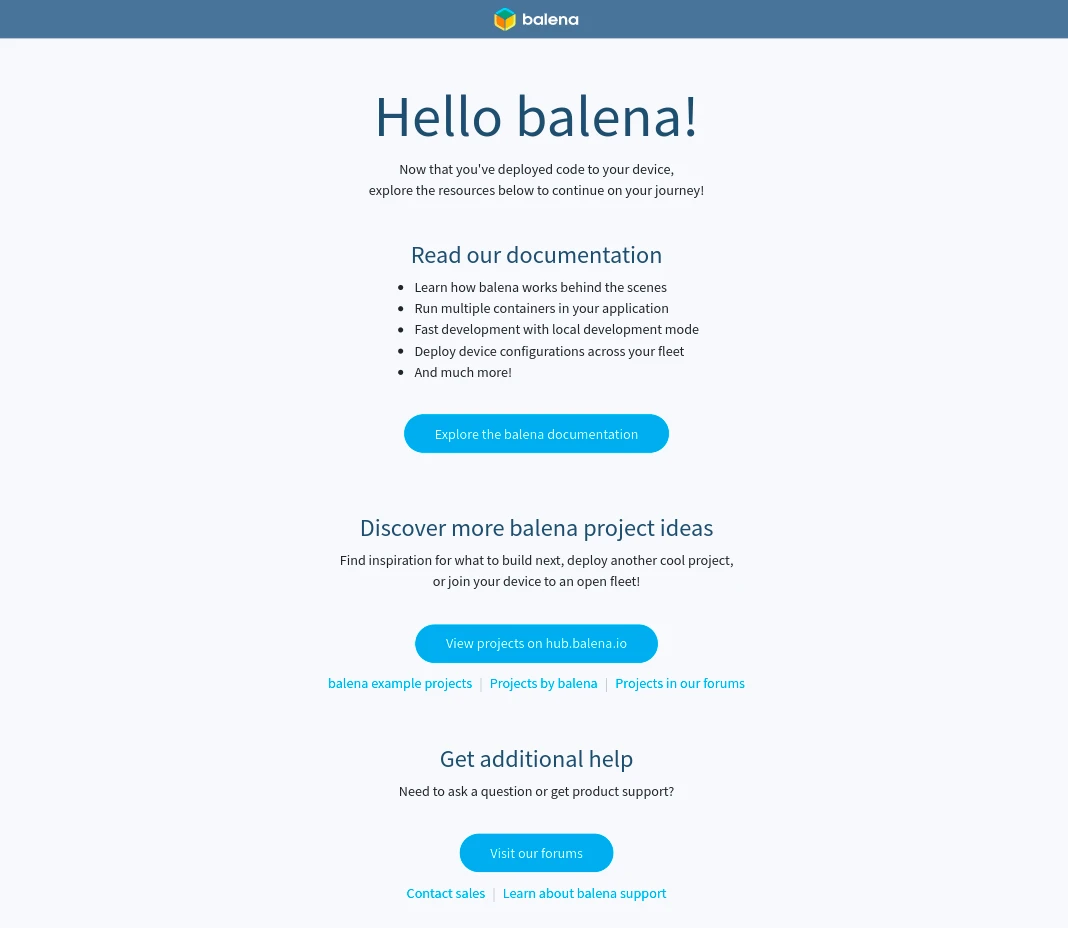
Follow the URL to view the welcome page with additional resources. Alternatively, you can point your browser to your device's local IP address to access the server running on your device. You can find the device's IP address on the device dashboard page. This is what you should be seeing.

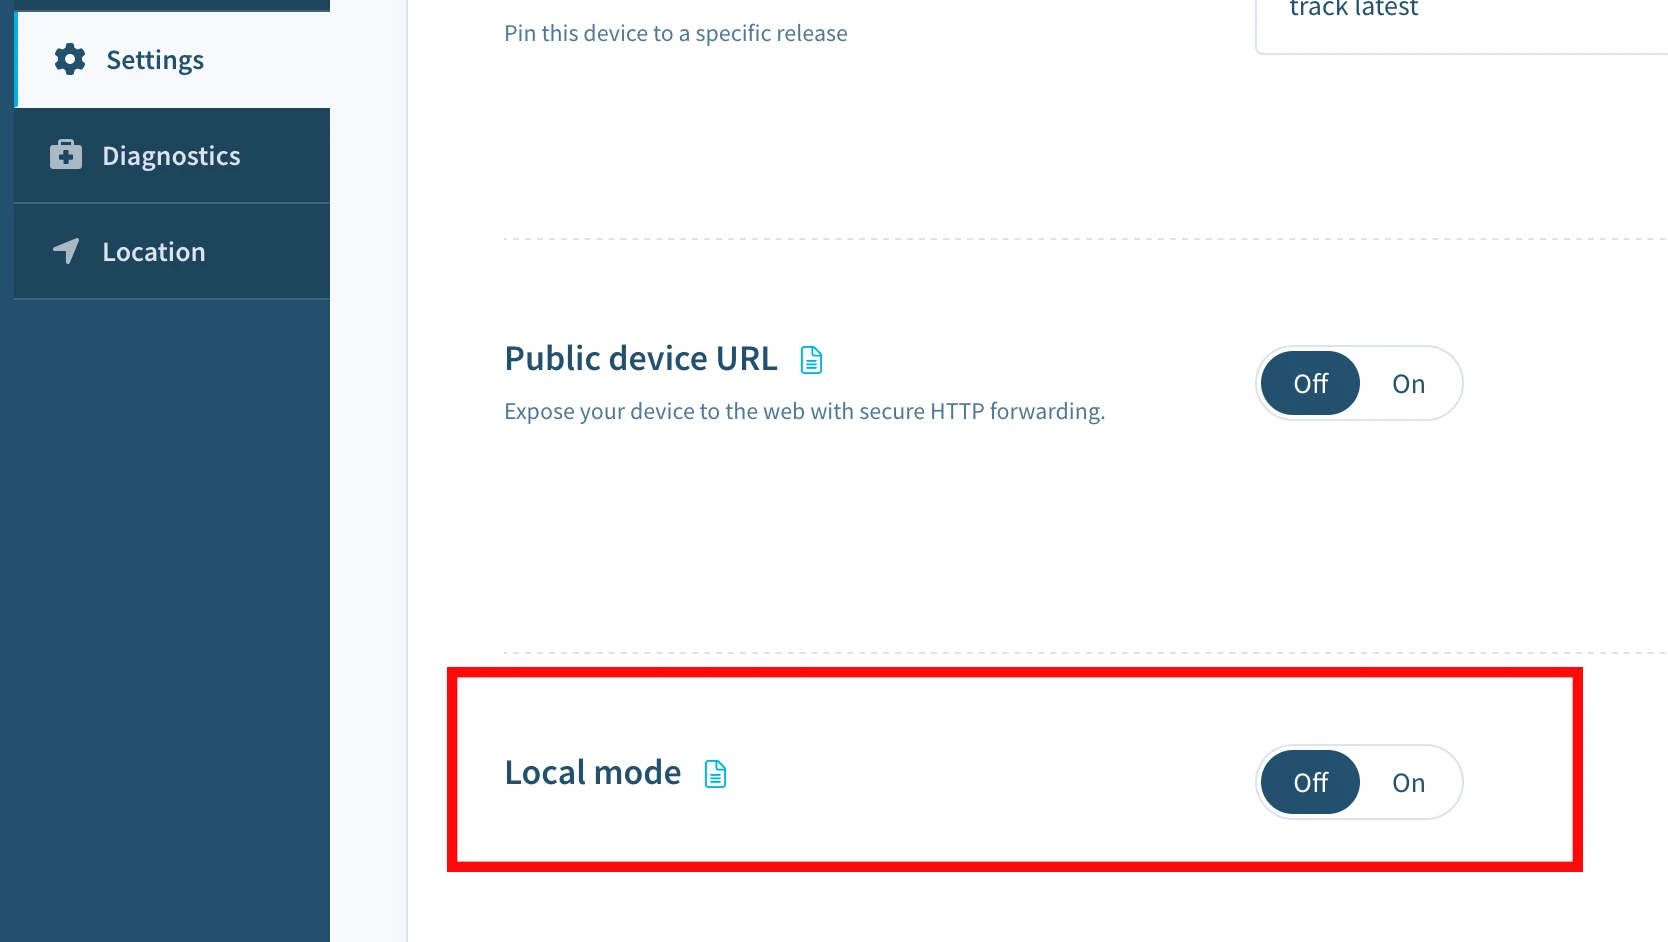
Now, let's try making some changes to this project and testing them right on the device. The project can be modified and pushed again using the same method as above, but since we are using a development version of the OS, we can enable Local mode and push directly to the device for a faster development cycle.
Activate local mode on the device via the dashboard.

Once enabled, you can now use balena push again, but this time we will push directly to the local IP address of the device obtained via the dashboard.

index.html file present in the static directory of the project. Open the file and change the title from Welcome to balena! To Hello balena! and save the file. After saving the changes, you can observe balena CLI automatically start rebuilding only the parts of the Dockerfile that has been changed.
When the rebuild is complete, take a look at the public device URL again to see your changes. The welcome page should have been updated with the new title.

balena push
When it's finished building the device(s) will update as before. Remember anything pushed to the fleet in this way can be applied to 10+ or 1000+ devices with no extra effort! To continue learning, explore parts of the guide in more detail:
Enjoy balenafying all the things!
https://docs.balena.io/learn/getting-started/eg5120-imx8mp/python/
https://docs.balena.io/learn/getting-started/eg5120-imx8mp/go/
https://docs.balena.io/learn/getting-started/eg5120-imx8mp/cpp/


